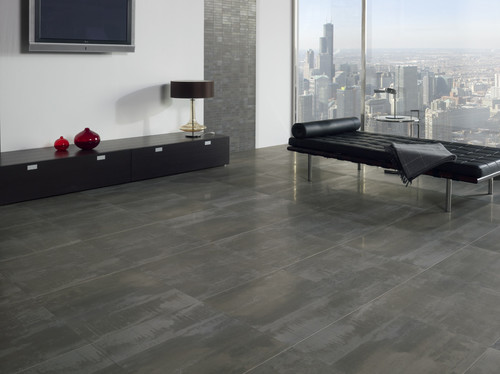
How to Install a Ceramic Tile Floor

Ceramic tile is a great way to add new life to an old room or to make any room in your home look classy and timeless. Tile is easy to keep clean and there are a variety of choices when it comes to colors, shapes and sizes. Installing your own ceramic tile floor is easy and requires little effort. It is a fun and easy do-it-yourself project for any homeowner.
Contents
1. Measure
The first thing that you must do when preparing to install the tile is take measurements of the room where you are going to lay the tile down. This ensures that you are not left with too much tile or, even worse, too little when you begin installing your new floor.
2. Cut and lay down cement board
Once you have taken the appropriate measurements, use those measurements to cut out the cement board. This board will be laid down over the floor for the tile to be placed over. This material is heavy and thick but not particularly difficult to cut through. Once you have cut the broad to the appropriate measurements, lay them out along the floor where you are planning to lay the tile. This will ensure that you have measured and cut everything properly. You want to be certain that the pieces fit together snugly and there are not any gaps or overlapping spaces.
After you are certain that all the pieces of the board will fit securely in place, you must secure the cement board to the floor. This is a necessary step to ensure that everything will stay in place. The easiest way to do this is to use a screw-gun or a cordless drill and keep the screws in place by first using a hammer to secure the screws. Once you have secured the cement board, you must mark the center of the room. Use lines moving from each side of the room to mark the center.
3. Begin cutting and laying ceramic tile
Once you have done all of these steps, you are ready to begin laying your tile. You can get the tile in sheets or in individual squares but whenever possible try to use full sheets. Take note of the “dots” on the underside of the tile. These dots will help you hold the tiles together and create grout lines. Whenever you need to, feel free to cut through the tiles in order to separate them as needed.
4. Use adhesive to fix ceramic tile to the floor
You want to ensure that you are working in small sections going forward. This will make the tile easier to manage and help you avoid making disastrous mistakes. Begin spreading the adhesive smoothly and evenly along the bottom pieces of the tile. You want to ensure that your adhesive is no thicker than the tile itself and you also want to ensure that the adhesive is not too thin. Begin by laying the center section of the tile first and move outward. Doing corners or sections where you need to cut the tile can be a little difficult so it is better to have the center groundwork laid down first. Be sure that you check how quickly the adhesive dries so you don’t get yourself into a tricky situation.
5. Place ceramic tiles snugly along the floor
Once you had put on the adhesive, set the tiles into place. Make sure that the tiles are placed together and that the patterns are lined up and set together snugly. Make sure to check the spacing before pressing the tiles down completely.
6. Finish up with perimeter and corners
When you have the center of the room down completely, then you will begin working on the perimeter of the room. You will need to trim the tiles down so that they fit along the edges and into the corners and odd edges of the room. When you need to cut the tile, be sure to use a wet saw, which uses water to keep the blade of the saw from getting too hot.
Once you have completed this final step, you now have a beautiful new tile floor which will give a new look to any room!
featured image photo credit: AMBIENTE VILLA RICA CREMA via photopin (license)


Leave a Reply
Want to join the discussion?Feel free to contribute!